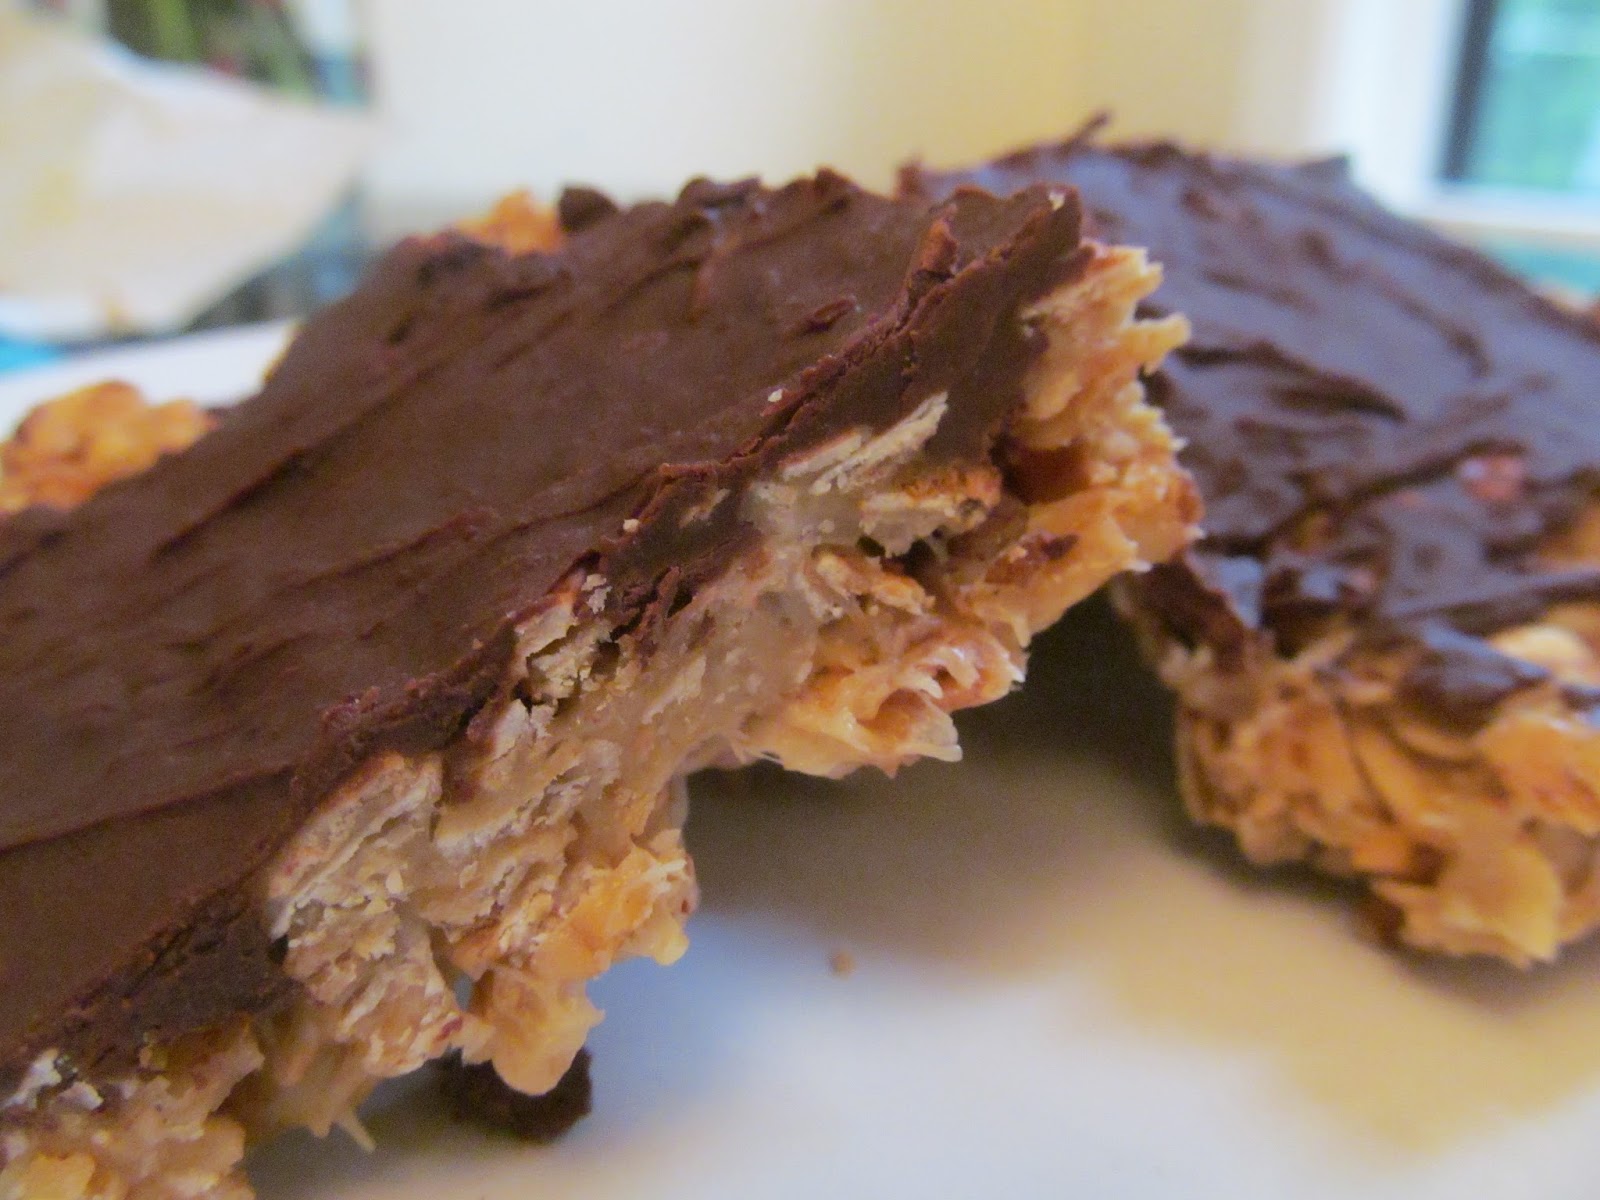
Homemade Chocolate Peanut Butter Granola Bars
Need I say more??

I am always looking for better snack options for me and my family. Fresh vegetables and fruits are always the best but sometime we need something that is full of protein and will satisfy our sweet tooth also. These granola bars fit the bill.
If you have kids I am sure you have discovered that they don't stay full very long. After I make mine what I thought to be a filling , nutritious meal I go to heave a sigh of relief that I don't have to feed them for a while but I am cut short by the sound of my children telling me they are still hungry!!!...and they want something sweet!!!

We are getting ready to leave for Georgia tomorrow for our yearly vacation and I can't stand the thought of eating junk food along the way. So I decided to make our own food and snacks to not only save us money but save our guts also.
Even though we will be sitting in our van the whole way up I have a feeling my kids will have an even bigger appetite then usual. So along with fruits, vegis, cheese, crackers and sandwiches I made a batch of these filling and finger licking bars.
{Chocolate Peanut Butter Granola Bars}- makes about 20

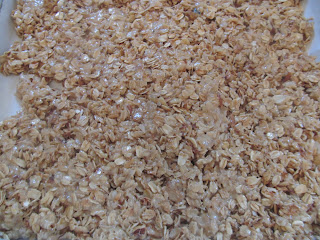
1. Make your granola{here is my recipe}
2.Melt 1/2 a stick of butter(1/4 c.) in a sauce pan
3. Pour in a bag of mini marshmallows{ I know marshmallows have the appearance of junk food but they are necessary, trust me}
4. Once marshmallows have melted add 1/2 a cup of natural peanut butter
5. Mix until smooth
6.Pour cooled granola into marshmallow mixture and mix until well combined
7.Pour into a 13x9 cake pan that is covered with parchment paper or has been buttered
8. Spread mixture out, put butter on your hands to press it out evenly
 9. Let cool
10.Melt 1 cup of semi-sweet chocolate chips and drizzle or spread over cooled bars{ you could eat the bars as they are with out the chocolate but why stop there?}
11. Let cool, I put them in the fridge to speed the process
12. Once cooled; cut into bars of your desired size. I like to cut them into squares
13. Store in airtight container;separate layers with parchment paper{I keep them in the fridge}
Mine are all ready to go. I am going to keep them in our cooler.
 I am looking forward to a quiet trip up; while hungry mouths are silenced with these yummy bars!
I am also planning on making smoothies and freezing them, since unfortunately we don't have room to bring my favorite kitchen appliances like our blender or ice cream maker;)

I am always looking for better snack options for me and my family. Fresh vegetables and fruits are always the best but sometime we need something that is full of protein and will satisfy our sweet tooth also. These granola bars fit the bill.
If you have kids I am sure you have discovered that they don't stay full very long. After I make mine what I thought to be a filling , nutritious meal I go to heave a sigh of relief that I don't have to feed them for a while but I am cut short by the sound of my children telling me they are still hungry!!!...and they want something sweet!!!

We are getting ready to leave for Georgia tomorrow for our yearly vacation and I can't stand the thought of eating junk food along the way. So I decided to make our own food and snacks to not only save us money but save our guts also.
Even though we will be sitting in our van the whole way up I have a feeling my kids will have an even bigger appetite then usual. So along with fruits, vegis, cheese, crackers and sandwiches I made a batch of these filling and finger licking bars.
{Chocolate Peanut Butter Granola Bars}- makes about 20
1. Make your granola{here is my recipe}
2.Melt 1/2 a stick of butter(1/4 c.) in a sauce pan
3. Pour in a bag of mini marshmallows{ I know marshmallows have the appearance of junk food but they are necessary, trust me}
4. Once marshmallows have melted add 1/2 a cup of natural peanut butter
5. Mix until smooth
6.Pour cooled granola into marshmallow mixture and mix until well combined
7.Pour into a 13x9 cake pan that is covered with parchment paper or has been buttered
8. Spread mixture out, put butter on your hands to press it out evenly

10.Melt 1 cup of semi-sweet chocolate chips and drizzle or spread over cooled bars{ you could eat the bars as they are with out the chocolate but why stop there?}
11. Let cool, I put them in the fridge to speed the process
12. Once cooled; cut into bars of your desired size. I like to cut them into squares
13. Store in airtight container;separate layers with parchment paper{I keep them in the fridge}
Mine are all ready to go. I am going to keep them in our cooler.

 |
| Last years trip. We made it to the overlook! |
 |
| Hopefully we will have enough left for when hunger strikes when we are hiking. |
I am also planning on making smoothies and freezing them, since unfortunately we don't have room to bring my favorite kitchen appliances like our blender or ice cream maker;)
What do you like to bring on long car rides that are a better alternative then McDonald's and gas station food???


Comments
Post a Comment